Training TRANSCRIPT
Heads up! This post may contain affiliate links. That means if you click on a link and make a purchase, I may earn a commission at no additional cost to you.
Introduction
Hello everyone, and welcome to this Canva training!
I’m going to be showing you four key steps that you can take to more easily create graphics and marketing materials in Canva that don’t look DIY, and how to create those materials without the overwhelm that I know a lot of my audience often feels when working inside of Canva to support their business or online course.
My goal for today is to try to meet you where you’re at in your experience using Canva.
Some of what I talk about today you may already be comfortable with, while for others it will be brand new, but hopefully you will walk away with at least one more tip or idea that you can implement in your own Canva account.
What You’ll Learn
By the end of our time together, you’re going to learn:
- The differences between Canva Free and Canva Pro and how to know when it’s time to upgrade.
- Why it’s so important to get organized in your Canva account to ensure you’re as efficient as possible with your Canva time
- How to utilize Canva’s brand kit to ensure that everything you create in Canva looks consistently branded, and
- Why templates are your best friend when designing in Canva and how to effectively apply your branding to them in order to create designs that are unique to your business.
And I’ll be walking you through a variety of different types of templates and examples of how they can be customized for different business brands.
About Me
To kick things off, a quick introduction is probably in order.
My name is Brenda Cadman and I live in Charlottetown, on beautiful Prince Edward Island in Canada.
I have been an entrepreneur for more than 23 years. The majority of that was spent running a website development agency and it was actually just this past September that I retired my website agency, so that I can focus more of my time on my role as a Canva expert and educator.
To that end, I am currently one of a small group of Canva Verified Experts in the world, so that’s something I’m quite honoured and excited about.
Using Canva Successfully in Your Business
Ultimately, becoming successful at using Canva in your business or digital course means that you are no longer creating random graphics or marketing materials that just look pretty… but instead you begin to use Canva in an organized and brand consistent way.
I know that most of you are likely not designers and creating graphics in Canva isn’t necessarily your passion, and for some of you, it may feel like a chore.
You may be finding yourself making endless revisions, spending HOURS on creating a lead magnet or checklist for your business that should take 15 to 30 minutes if you knew what to do.
I want to take what can feel like a chore for many people and and make it feel as easy and enjoyable as possible for you.
So let’s get into the meat of today’s presentation, and today I’m going to be talking about 4 keys to creating professional looking, consistently on-brand graphics and marketing materials in Canva.
Key #1: Choose the Right Canva Plan for Your Needs
If you want a way to create graphics and marketing materials in Canva that look consistently more polished, branded and professional, you’re going to really think about whether it’s time to upgrade to Canva Pro.
Yes, you 100% can use Canva’s free subscription for many of the uses you’ll have.
And even if you never upgraded to Pro, you’ll still find a tremendous amount of value in Canva’s capabilities.
However… in order to have the ability to create the most professional looking graphics possible, in the most efficient way possible, you may find yourself running into repeated instances where you need Pro to achieve the marketing goals you have for your business.
So let’s talk about why.
There are quite a lot of differences between the plans and there is a complete breakdown available on Canva’s pricing page which you’ll find at Canva.com/pricing.
But here are some of the biggest differences that I think make it worth investing in as a business owner.
The Brand Kit
The ability to setup and use the Canva brand kit feature, which includes the ability to upload your own custom fonts. You won’t have access to the brand kit feature on a free Canva plan, whereas on a Pro plan, you can create up to 100 brand kits.
Premium Stock Library
Access to Canva’s entire premium stock library. That includes not just photos but also all sorts of icons & illustrations, video and audio. I know that a lot of the icons I have used in social media designs and various worksheets have all been part of that premium library.
Full Template Library
Access to the entirety of Canva’s template library. You do have access to a wide variety of templates on the free plan, but significantly more on Pro, which will give you far more flexibility in terms of designing great looking content in Canva.
Transparent Backgrounds
You can only download designs with a transparent background in the Pro version.
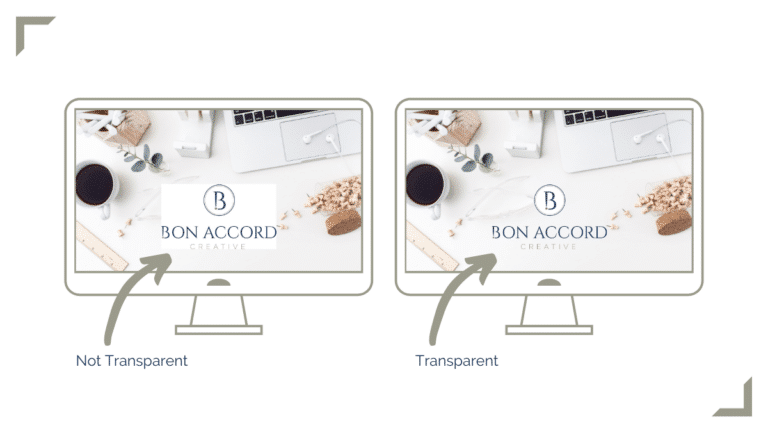
This is going to be important if you’re creating a graphic in Canva that needs to have a transparent background, without a white square behind it.
So for example, if you’re creating an icon or illustration that you want to blend seamlessly on your website.
Or if you are using Canva to create a logo, this will be important as well. Though there are some important limitations around using Canva to create logos which we won’t get into today.
One-Click Resize
And finally, the ability to resize a design into new dimensions with a single click, for example if you wanted to quickly copy an Instagram image into a different sized image.
Without this resizing ability, you’ll have to recreate each image, so this is a HUGE time saver.
So ask yourself…
How much is your time worth?
Consider how much time you’ll be clawing back that you can use to focus on tasks in your business that make you money, or that you just really love to spend time doing.
45 Day Free Trial of Canva Pro
One of the perks of being a Canva Verified Expert is that I get to share a 45 day trial instead of the 30 day trial that Canva offers directly, so if you haven’t had an opportunity yet to try out the features on Canva Pro and you think they may be helpful for your business, I do have a 45 day free trial link that you can check out.
At the end of the day, I don’t like to spend money on things that don’t hold value for me, so I’d definitely recommend you try out the Pro features for yourself to see if the value is there for you before you spend any money on it.
Key #2: Get Organized
So let’s move onto the second Canva success key, which is to get organized and I know this is a big source of stress for a lot of folks.
You’re in luck, because it is my favourite thing on the planet to talk about. In addition to being a Canva Verified Expert, I’m also a former professional organizer who specialized in organizing paper and filing systems, so this is my sweet spot.
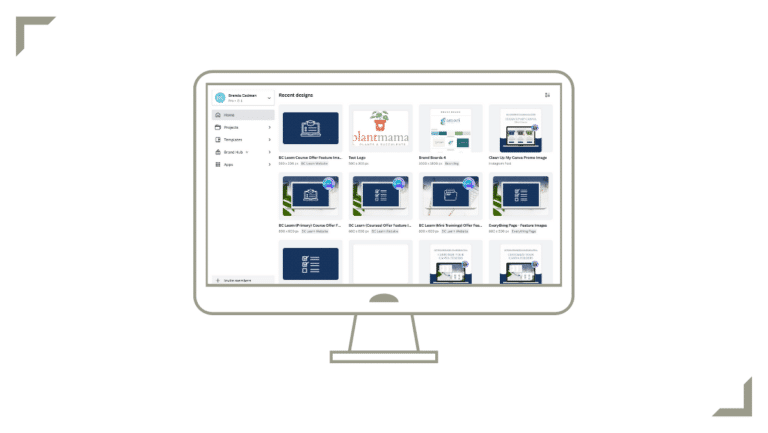
I don’t want you to just be relying on using the Recent Designs list on your Canva homepage.
While it might feel manageable with just a handful of designs, if you suddenly had hundreds of designs to sort through, perhaps certain designs with multiple versions, then it will get very difficult, very quickly to find what you’re looking for.
Folders & Subfolders
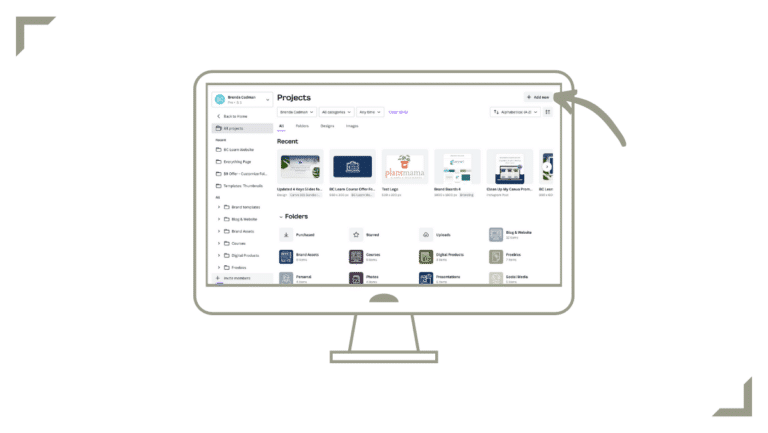
If you’ve never created folders before in your Canva account, you can do so by using the “Add New” button in the top right corner.
Now if you’re new to Canva, it’s the perfect time to set up your system before you get to the point of feeling overwhelmed by all of your designs and images.
And if you’re already a veteran user of Canva, you may be feeling like it’s already out of control but I promise that you can still create a system and get things back on track. It’s never too late.
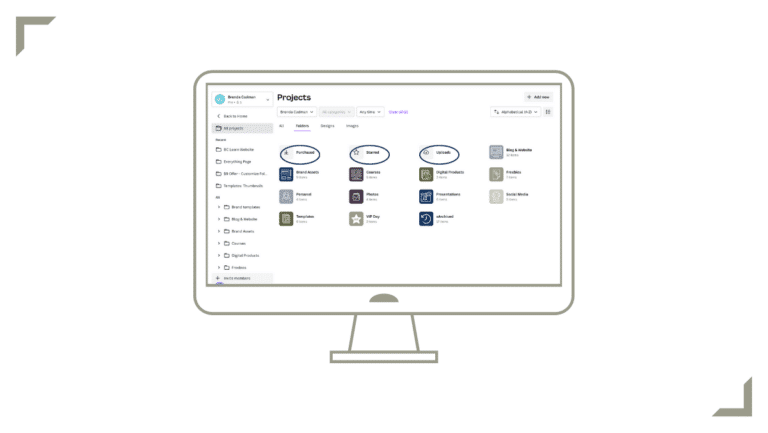
Canva has a few default folders that they create.
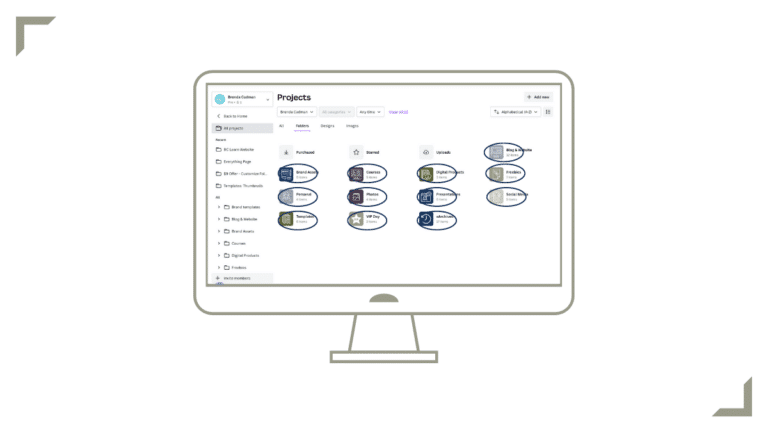
But you can also create your own custom folders.
At the end of the day, you’re going to want to create folders that make sense for you, and ultimately the most important thing is that you have a home for everything and then stick to using that system consistently once it’s working for you.
For example, maybe you’ll have a folder for your Social Media graphics you’ve created, and that folder might be broken down into various subfolders for each social platform like Facebook, Instagram, YouTube, etc.
I also definitely want to encourage you to create a custom folder system to organize your images as well, so one of your custom folders may be called Photos, and then broken down into categories that make sense for you.
For example, you could have a styled stock photo folder that is broken down by source website, and then further broken down into subfolders by subject matter or colour palette.
Whatever works best for you to intuitively browse and find it in the future when you need a particular image.
The Uploads Folder
A lot of people don’t realize that you do not have to store all of your images in the Uploads folder, and to be honest, I would strongly advise against doing that because it just becomes a bottomless pit of images that makes it practically impossible to find what you’re looking for over time.
I do Organization VIP Days and I have seen Canva uploads folders with so many images in them that the account holder had re-uploaded the same image half a dozen times because they couldn’t find it any of the other times they’d uploaded it.
I’m going to encourage you to think about your Uploads folder like the in-tray on a physical office desk. Use it as a temporary holding place, and once you’ve used an image, file it away into an images folder system.
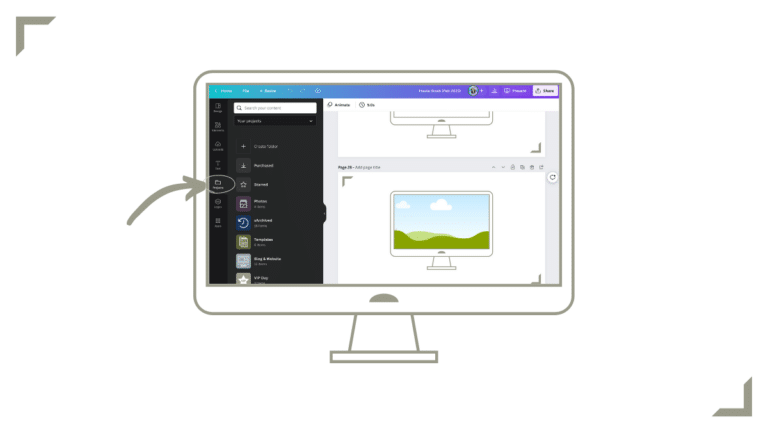
And then when you’re working on a design in the Canva design editor, you can access your folders through the Projects tab in your left hand editor navigation, and you’ll be able to much more easily find the specific image you’re looking for, without wasting a ton of time.
File Naming
Also, I would encourage you to be mindful of how you are naming your designs.
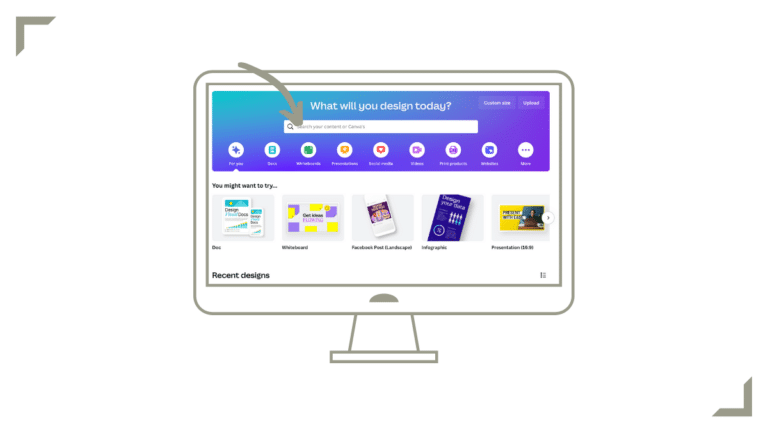
You want to name your designs consistently, ensuring that the design name is descriptive and that it includes any keywords you might search to find the design, and that’s because while having an organized folder system is really important, one of the fastest ways to find a specific design is to use the search field at the top of your page.
That said, Canva has made searching even easier for you now with the introduction of the ability to search for keywords that appear not just in the name of your file name, but also any keywords that appear in the design itself.
Key #3: Create Your Canva Brand Kit
Note: the Brand Kit is a CANVA PRO feature
Let’s talk about the third key and that is… you need to create your Canva brand kit.
Knowing how to use the brand kit in Canva is typically the focal point of a LOT of what I teach in Canva and the reason I focus a lot of time on this component is because I believe it is SO central to being able to create consistently branded graphics in Canva that look professional and unique to your business.
If you take nothing else away from this training, let the 1 thing you take away be that you must create your brand kit in Canva and then use it consistently when creating your graphics.
What is a brand kit and what goes in it?
In Canva’s words, a brand kit is a “short, easily digestible guide to your brand’s visual identity”.
It assigns a visual identity to your business, which makes it more easily recognizable, and the reason that’s important is because a brand must be recognizable in order to develop loyalty and build trust.
A brand kit is a foundational step towards building that loyalty and trust, such that people come to trust you enough to want to do business with you.
6 Elements of a Brand Style Guide
So in a nutshell, there are 6 elements of a brand style guide.
Brand Voice
First is your Brand Voice, which is your style of communication. I’s the way you talk to your customers, so for example, the types of words and phrases you use or avoid, the tone you use, and so on; for example, my own brand voice is always straightforward, helpful, hopeful and positive and it is never ever snarky or negative.
Brand Story
Next is your Brand Story, which would include your business’s mission, vision, audience, personality, values, and so on.
The Visual Components
And then we get into the more visual elements including your Logo, your Colour Palette, your Typography and your Imagery.
For the longest time, Canva’s brand kit feature only incorporated 3 of these components, but as of late March 2023, we now have some new ingredients in the brand kit as well to accommodate your brand imagery.
So let’s look at each of these brand kit components.
Your Logo
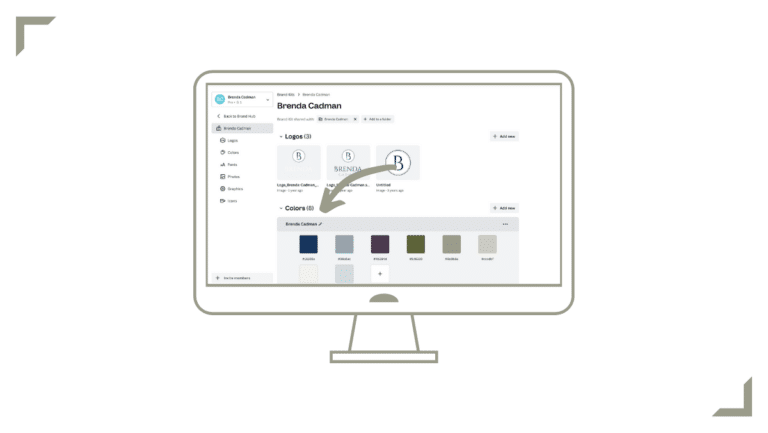
You’ll want to make sure that you upload your logo as well as any variations of it.
For example if you have it in both a vertical and horizontal orientation, a reverse logo, any icon elements or monograms or illustrative components.
For example, I don’t usually like to use my full logo on my social graphics, but for those I will use just the B icon.
And you’ll want to ensure that all the logo variations you upload have a transparent background so it looks more seamless on your designs in Canva… which is going to lead to a more professional, polished look, and less of an “I threw this together myself” sort of appearance.
At the end of the day, you want to make sure you always have all of your logo versions easily at hand, no need to hunt for the right version or to waste time… it’s right there waiting for you when you need it.
Your Colour Palette
You’ll also want to set up your brand’s colour palette, and then it’s going to be really important moving forward that you stick to just using your brand colours.
I know that some of you may feel that is stifling your creativity but in reality, it reduces confusion and overwhelm, not just for you (because you don’t have to make extra choices about what colours to use, you can just stick with your set brand palette), but also for your audience.
If you stick to your brand palette, it’s going to create a sense of cohesiveness across all of your graphics, it’ll feel less visually cluttered, and it’ll result in much less brand confusion for those who follow you.
Your Brand Fonts
Next up is your typography or font choices.
You should be using a consistent set of fonts not only in your Canva designs but also on your website and any other marketing materials that you use.
I usually advise that you shouldn’t have more than 3 fonts in your designs and that’s separate from your logo… and if you are using more than 3 fonts currently, it’s probably creating unnecessarily visual clutter.
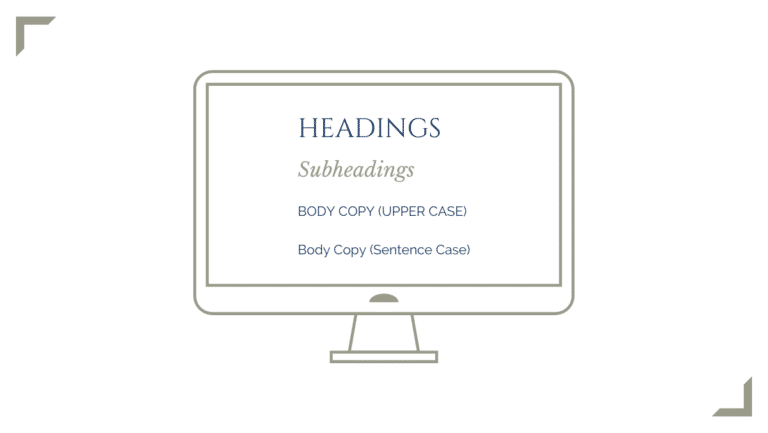
Additionally, your brand fonts should also have a visual hierarchy set up for them, so for example, you should have one font treatment for your headings, another for your subheadings, another for body copy, and so on.
That doesn’t mean you’re necessarily choosing a completely different font for each of those items, but it does mean that you need to choose a particular font and formatting for each of them and then use them consistently.
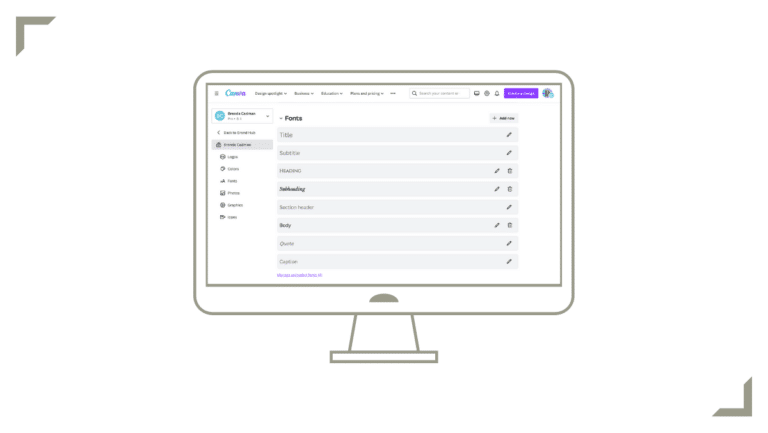
And with the March 2023 updates of the brand kit, you can also now set a wider selection of font styles, including title, subtitle, section header, quote and caption. I still strongly advise only having a maximum of 3 fonts in use in your designs, but for example your titles might be a different sizing than your headings, while your captions might be the same font your body copy but smaller and always in italics.
The specifics of your font formatting will depend on your unique brand kit.
Once you’ve established your fonts and font hierarchy, you can add that into your Canva brand kit, but this is where you’ll run into limitations if you aren’t on a Pro account, which I talked about earlier in the training.
Unfortunately on the free account, you aren’t able to set your fonts in this area, and you’re also not able to upload fonts, which becomes problematic if your brand fonts aren’t included in the free fonts that Canva provides.
If you have a set of brand fonts, you can give yourself permission to ignore all of those beautiful fonts that you may have collected in the past, or that you may be seeing across the social channels of other businesses.
But as pretty as all those fonts may be… if they aren’t part of your brand fonts, you should NOT be using them in your graphics and marketing materials if you want to create consistently on-brand images.
Your Brand Imagery
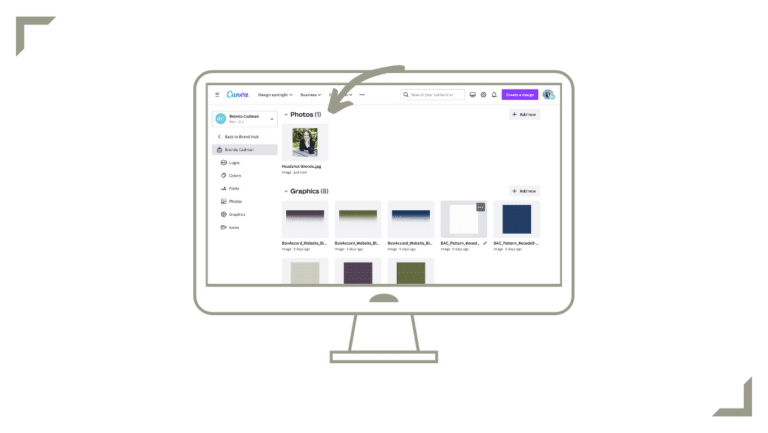
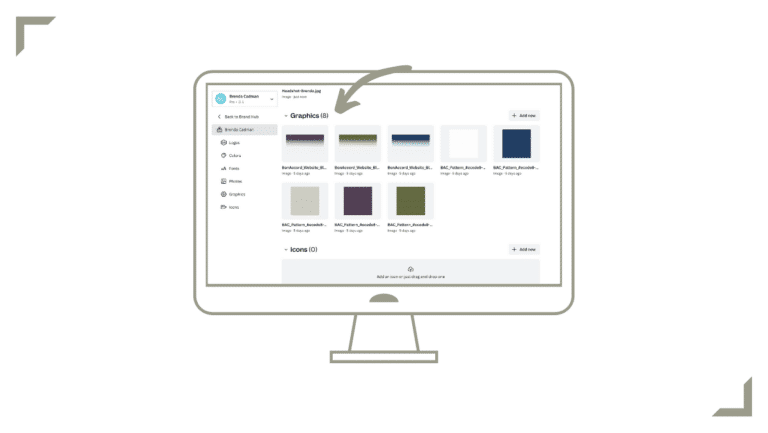
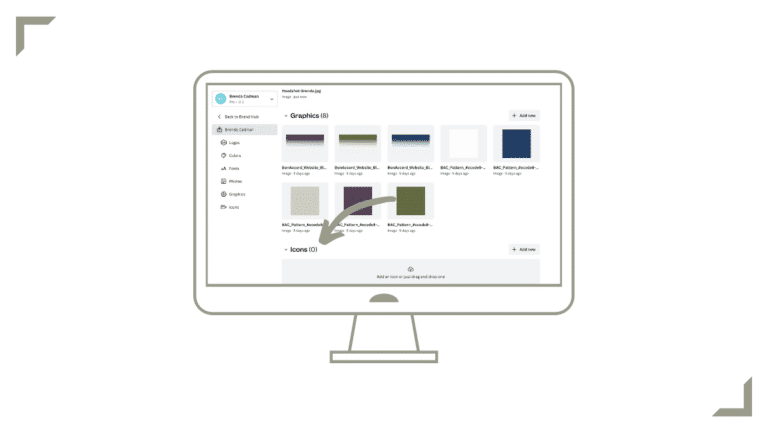
The final piece of your Canva brand kit is your brand imagery, and Canva now enables you to add brand photos, graphics and icons into your brand kit as well.
Brand Photos is fairly self-explanatory, but a few examples may include photos from brand photo shoots, your head shots or even styled stock imagery that you regularly use for your designing.
Then we have Brand Graphics, which you may or may not have. Those could include patterns, textures and illustrations that you use as part of your branding and design.
And finally Brand Icons, again which you may or may not have.
Once you have all of your brand kit elements in place in your Canva account, you’ll want to consistently use them on all of your future social graphics and marketing materials and by doing so, it makes using Canva so much easier and more efficient to create new graphics because you will already have a guide of what to use and what not to use.
Key #4: Start with Templates
You’ve probably seen other business owners creating all sorts of beautiful designs in Canva, whether it’s social media graphics or e-books or workbooks or whatever it is.
You may have had the experience of opening up a new design in Canva and trying to create all of those things yourself and found it feeling next to impossible to do.
Or everything you create looks like cookie-cutter templates.
They’re definitely not the beautiful, branded images and designs you want to create. You know, like the ones your favourite influencer has, that you badly want for your own business.
As a small business owner, you’re likely in a position where you need to create at least some, if not all, of your social graphics and online marketing designs.
Or, if you’re a course creator, you likely already know that you need to create a wide variety of course materials.
But you’re likely wasting too much time inside Canva trying to create your social media images and lead magnets, when you’d rather be promoting your business or digital course.
So I want to invite you to shift your mindset about how you approach Canva.
Please take the pressure off of yourself.
You do NOT have to design from scratch.
I officially give you permission to never have to create a design from scratch again.
No more staring at a blank Canva design editor page.
Use templates. Templates are your best friend, and you have so many of them out there to choose from.
There is zero judgment if you don’t create from scratch… in fact, it’s often the very best decision you could make in terms of your Canva time.
So why is a template so helpful?
Reduced Frustration
First, they can save a TON of frustration. If design isn’t your zone of genius, having to create from scratch may leave you wanting to tear your hair out, burst into tears, or throw your computer out the window. It’s how I feel if I have to do my own accounting… which is why I haven’t done my own accounting in many, many years.
Save a ton of time
Next, it saves SO much time – otherwise you could spend hours creating a design… back to that “how much is your time worth” question; using a template frees you up to work on the roles and tasks in your business that make you money and that fall within your zone of genius.
More professional looking designs
It often results in creating a more professional looking design – because it is designed by a professional designer who understands layout, balance, spacing, and so on. And I know you’re looking to create content in Canva that looks less DIY and more professional, so this can be a massive shortcut to achieving that goal.
Design inspiration
And finally, templates can also provide you with plenty of inspiration for how to use Canva in ways you hadn’t previously thought of. For example you may see elements combined in ways you wouldn’t have thought to do yourself.
Categories of Templates
I like to break templates down into 2 categories.
Canva’s Template Library
First you have Canva’s free templates, many of which are free regardless of whether you’re on a free or pro plan. But they are also building out their Pro templates on almost a daily basis. Canva has what they call their “Creator” program and that involves having designers creating and submitting templates which, if approved by Canva, end up available to you for use.
You can search or browse for those from your main Canva homepage, or their template library, or even within the Canva editor when you have a design open.
Third Party Template Sites
But an increasingly popular option is to purchase a template pack or membership from one of the growing number of template shops out there.
In those template shops, a lot of wonderful designers have done the heavy lifting for you in terms of designing templates for the kinds of graphics and documents you may be wanting to create… so that you don’t HAVE to spend hours designing that perfect e-guide layout or whatever it is.
While this is a paid option, whereas the templates Canva provides are included in your Canva subscription cost, ultimately it can often be a much more effective solution if you’re not finding quite what you need in Canva’s template library.
For example, one area I find that Canva is lacking right now is in lead magnet and workbook layouts.
What can you create in Canva with templates?
So what sort of templates might you want to use, and there is a lot more available to you in Canva than just social media graphics.
- You can use Canva templates to also create your slide decks for presentations or trainings.
- You can use templates for checklists and workbooks and lead magnets.
- I’ve used it to create roadmap or success path images for my digital courses.
- I’ve even used it to design and print custom welcome cards as part of a branded welcome package when new students joined one of my bigger Canva programs in the past.
If there is something you want to design to support your business, there’s a good chance you can create it in Canva and there is most likely a template out there that you can use as a starting point.
Customizing Canva Templates
Let’s talk about what it looks like when you *customize* templates for your own branding.
The key here is to customize your chosen template by consistently using your Canva brand kit that we talked about earlier.
You want to use your logo variations, your set brand color palette, your set brand font hierarchy plus your own brand imagery in order to take a general template and end up with a layout that is unique to your business.
Now we don’t have time to go through the full step-by-step process of actually customizing your designs today, but I do want to give you some inspiration about how some Canva templates could be customized for a handful of different brands.
First, an example of a customized set of social graphics templates.
Here are the original templates, and these are all from a Canva Creator called My Social Designer. And here’s those templates customized for a brand.
Here is an e-book template example from The Template Tribe, and actually the rest of the examples I’ll give are using Template Tribe templates. And here are a couple of customized examples.
This is a customized workbook template, before and after.
Here’s how a checklist template could be customized, before and after.
Here are a couple examples of how you could customize a slide deck template, which you could use as a starting point for webinar slides or course lessons.
So here is the original template, and here is what a customization might look like.
Finally, here is a set of customized promotional graphic templates, so before and after.
Consistency is Key
At the end of the day, the key here is to use your brand kit in Canva and to make customization choices that are always consistent with your established visual branding.
Recap
So today we talked about:
- Which version of Canva you should be using and why it is really worth upgrading to Canva’s Pro level subscription if you want to be able to create the most polished looking graphics.
- We also talked about the importance of getting organized in Canva, so you can be as efficient as possible with your Canva time.
- I introduced you to the key components of your Brand Kit and why consistent application of them is so important.
- And we talked about the types of templates that are available to you and how you can apply your own branding to them.
So now you now know some of the important steps you can take to be able to work in Canva with less stress and frustration, in order to create graphics that look more consistently compelling, professional and on-brand.
Thanks for watching!
Resources
- Try Canva Pro for Free for 45 Days
- Clean Up My Canva (course)
- The Canva Organization Roadmap (free download)
